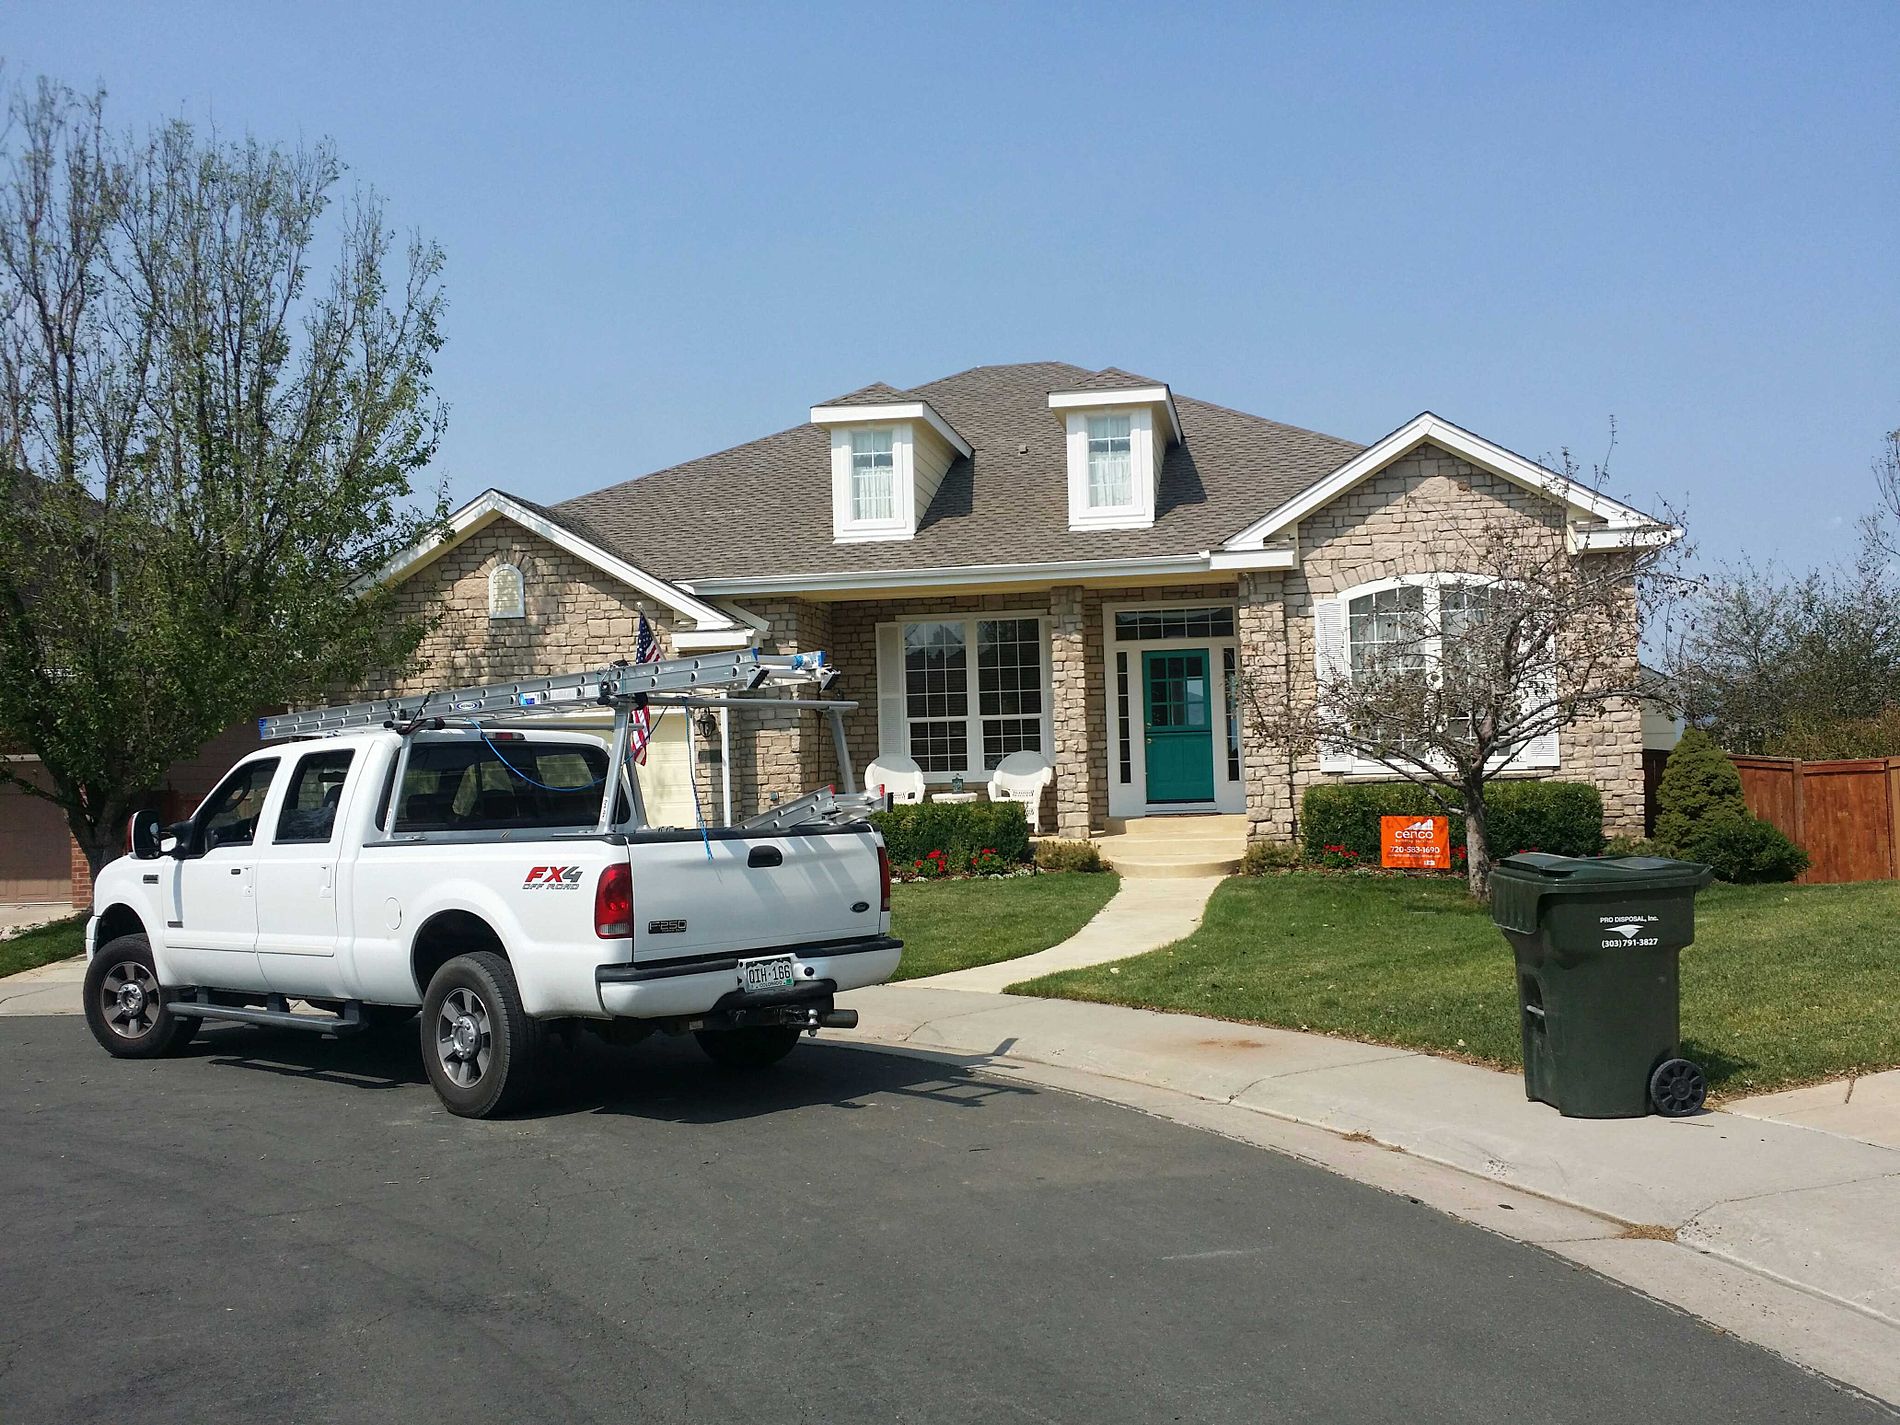
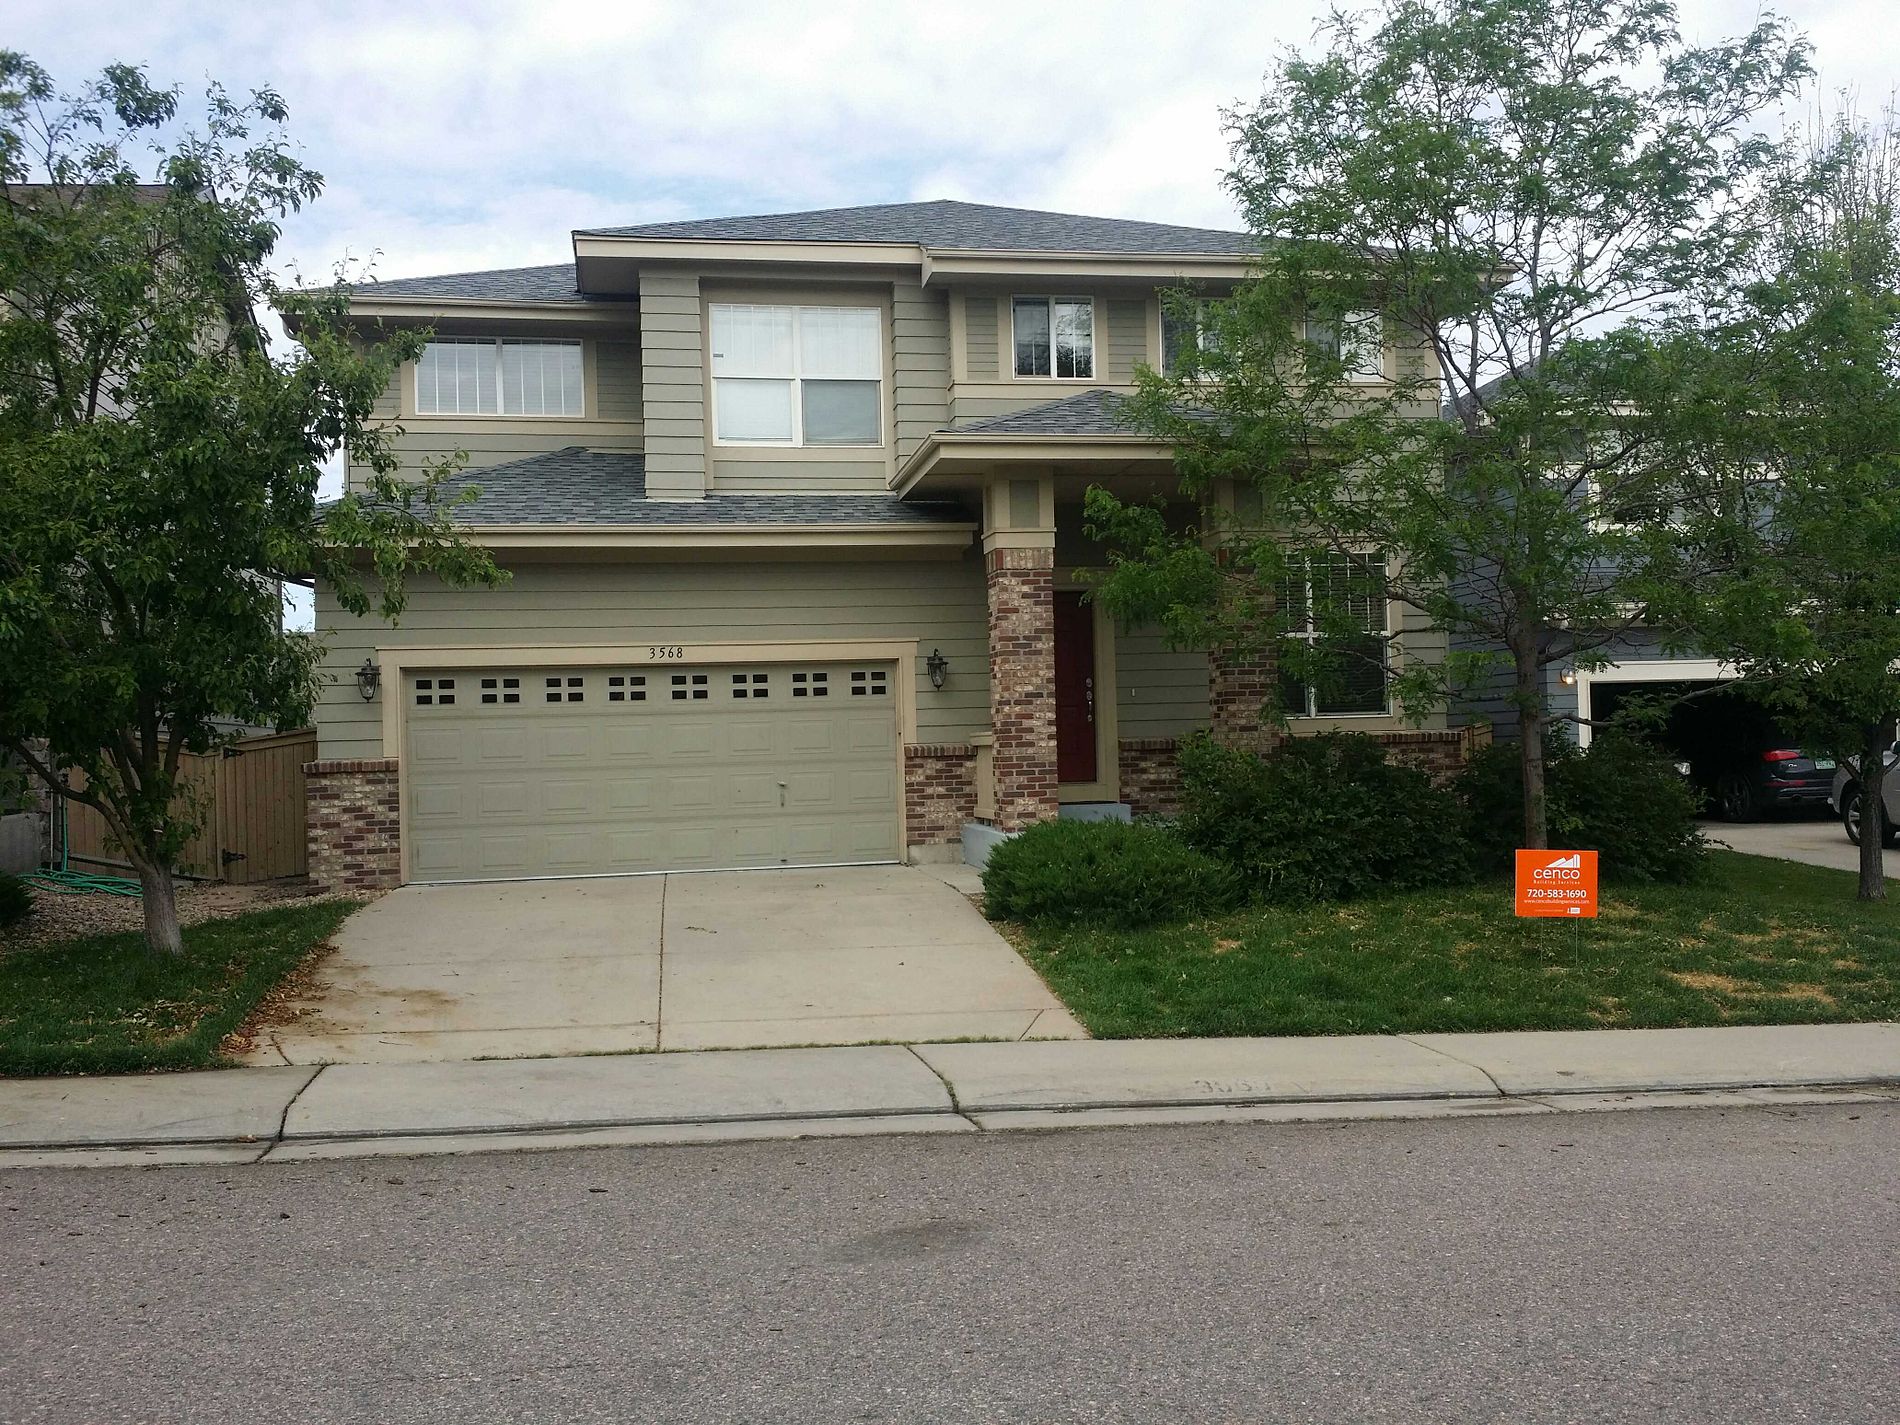
You may have heard of a roof certification inspection if you are trying to sell or buy a home. Perhaps the home inspector may have mentioned a roof certification, as it is not included with the home inspection service. Or your realtor may have suggested a roof certification to increase a property’s appeal to buyers, verify the condition of the roof and provide additional peace of mind. At Cenco Building Services, our trained and experienced roof inspectors conduct a detailed roof certification inspection that meticulously determines the following:

  • Type of roofing material-Identifies the type and brand of materials, so you know expected longevity, weathering characteristics, problem areas or defects, and class of product installed.

  • Condition of roofing materials-Assesses whether any roofing material is missing, damaged or deteriorated such that it affects the longevity of the roofing system.

  • Age of roof system: Determines how much longer the roof can last until replacement is recommended, based on current condition and type of roofing product.

  • Roof layers and underlayment: Identifies the approximate load bear of the current system and identifies the underlayment and decking type, so that there are no surprises during roof repairs or replacements that may be required in future.

  • Installation Quality: Examines the installation quality of the existing roof, so that any potential problems such as crooked lines, overdriven or high nails, uncaulked caps, improper ventilation are identified and can be corrected.

  • Code Items: Outlines current building code requirements relative to the existing roof system, so that an accurate assessment and cost can be generated should the roof require replacement.

  • Accessories: Inspects the condition of valley and headwall flashing, starter, ridge cap, drip edge, gutter apron, exhaust vents, vent housing pipe jacks and gutters that may indicate repairs or replacement of parts or roof are necessary or imminent.

  • Prior Repairs: Reviews condition of prior roof repairs to ensure they were performed properly.

  • Drainage system: Identifies problem areas at the intersection of roofing and gutter systems, to make sure there are no structural or mechanical impediments to moving water away from the house.

Type of roofing material-Identifies the type and brand of materials, so you know expected longevity, weathering characteristics, problem areas or defects, and class of product installed. Condition of roofing materials-Assesses whether any roofing material is missing, damaged or deteriorated such that it affects the longevity of the roofing system. Age of roof system: Determines how much longer the roof can last until replacement is recommended, based on current condition and type of roofing product. Roof layers and underlayment: Identifies the approximate load bear of the current system and identifies the underlayment and decking type, so that there are no surprises during roof repairs or replacements that may be required in future. Installation Quality: Examines the installation quality of the existing roof, so that any potential problems such as crooked lines, overdriven or high nails, uncaulked caps, improper ventilation are identified and can be corrected. Code Items: Outlines current building code requirements relative to the existing roof system, so that an accurate assessment and cost can be generated should the roof require replacement. Accessories: Inspects the condition of valley and headwall flashing, starter, ridge cap, drip edge, gutter apron, exhaust vents, vent housing pipe jacks and gutters that may indicate repairs or replacement of parts or roof are necessary or imminent. Prior Repairs: Reviews condition of prior roof repairs to ensure they were performed properly. Drainage system: Identifies problem areas at the intersection of roofing and gutter systems, to make sure there are no structural or mechanical impediments to moving water away from the house. Contact Cenco Building Services Today If you are in need of a roof certification inspection, Cenco Building Services in Denver is available to conduct a roof inspection, provide a detailed report that outlines our findings and, when applicable, present a 5 year certification or explain the repairs or servicing we recommend. Schedule your appointment today by calling (720) 583-1690 to discover how we can help you certify, repair or replace your roof!

It’s the Season of Lights. As December rolls around, and thoughts turn to installing Holiday lights, there are few things you can do to avoid damaging your roof. Whether it is a few strands above the front porch or you want to compete with Chevy Chase’s house from “Christmas Vacation,” even the smallest of holes from hanging lights can cause extensive damage to the interior systems of your home. The good news: They are simple problems to avoid! Here are 5 Simple and Safe Tips to Installing Lights without damaging your roof.

1. Safety First!

Your lights should be installed on a clear day, in the afternoon (to allow moisture to burn off your roof), and it is strongly recommended you have a helper, to hold the ladder and in case of emergency. Sort and untangle wires beforehand, checking each strand, and use only extension cords that are UL approved for use outdoors.

2. Only Use Plastic Clips.

Nailing or stapling lights directly to your roof shingles is a guaranteed way to create damage. Shingles are not weather tight if they have been punctured, and even the smallest of holes can let water penetrate the envelope of your home. Nails damage not only the shingle, but can drive directly into your attic space–providing a direct line for water to reach insulation and drywall! This can result in extensive damage before you even detect a problem. Plastic clips are designed to hang directly on your gutters, eaves and shingles without puncturing them and are the most effective, inexpensive alternative to nails and staples.

3. Walk Carefully.

The goal is to minimize the amount of walking on any roofing system. It is both unsafe for an untrained professional, as well not good for your roofing system. If walking is required, be sure to wear soft rubber-soled shoes (to provide good grip) and plan to install your lights on a clear, dry day. Pay attention to morning dew and/or ice, which creates a very slippery surface. In warm climates, plan your work before mid-afternoon as the temperature on your roof can reach well over 100* (25*-50* warmer than the air temperature) and poses risks of heat exhaustion. For homeowners with tile or stone-coated steel roofs, never step in the trough of the tiles, as this can cause cracks, breaks and bends. You should always walk on the battens upon which those materials are installed.

4. Be Aware Up There.

With your focus on hanging lights, you still need to be aware of your surroundings. Before putting up your ladder and while on a roof, be aware of power lines, tree branches, antennas and HVAC units: Anything that can cause you a trip or fall. Also, be sure not to overload any single electrical outlet, as it could result in tripped breakers or an electrical fire.

5. Remove with Care.

It is always disappointing when the Holidays are over; and it is frequently cold and snowy. However, take the same precautions removing lights as you took installing them. Make sure the roof is dry and clear. Take your time: Yanking even plastic clips down can cause damage to shingles, gutters and your eaves! Remove the clips and attached lights one at a time. Be sure to store light strands carefully so they last for many Holidays to come.

Roofs can be repaired in the winter, and sometimes they absolutely must be. But the real question is: should they be repaired in the winter? If you have a leaking roof, of course, you need to have it repaired right away. Many customers ask for winter roof repair in Denver for this reason. As long as it is safe and the roof is clear of snow and debris, it is possible to complete certain types of roof repairs at any point during the calendar year. A licensed roofing professional such as the experts at Cenco Building Services can guide you as to the right type and timing for your repair. There are potential issues that arise when working in cold temperatures. In terms of full roof replacement, it’s better to install a new shingles when it’s 40deg or warmer. The reason for this is shingles are manufactured with seal tabs on their undersides, allowing the shingles to seal to each other. These seal tabs rely on heat from the sun to first become tacky and then seal onto the shingle course below them. In order for the sealing to complete, the surface of the shingle needs to reach a temperature of 70*. That said, it is equally important to understand that the surface temperature of the roofline is generally 15*-30* warmer than the ambient air temperature. So on a sunny Winter day when it 50 degrees out, it is easily 75* on the surface of the roof. The sun beams down on the shingles and quickly warms them up to a higher temperature than the air. This is the reason it is not uncommon to see roofers working in short sleeves in the middle of Winter! Ultimately, no one hopes to need a roof repair in the dead of Winter. But with the exercise of greater caution to ensure shingles and flashing are properly installed, roof repairs can be completed at any point throughout the year.

Ahhh….the sounds of summer. Lawn mowers, birds chirping in the trees, dogs barking behind the fence, and the inevitable knock on the door from door-to-door canvassers selling something. House painting? Check. Windows? Check. Solar panels? Check. Roofing? Check. Almost every homeowner has answered the door in the last 12 months to one or more of those home improvement product or service offers. So we do they keep coming back every year? The simple answer is that door-to-door sales work. (You may be shaking your head, thinking, “Well, I would never buy from a door-to-door salesperson.”). While that is the most common response we hear when discussing field sales with customers and friends, statistics show that not to be the case. In the home improvement business, research bears out the fact that 30 in 100 homeowners are open to door-to-door offers, 15 in 100 will actually ask for a proposal and 3 in 100 homeowners will complete a purchase that starts with a knock at the door. When those numbers diminish to zero, then companies will quickly stop spending the time and money sending representatives out on the street. Both legitimate local and fly-by-night contractors, in the meantime, will continue to use door-to-door sales as a means to meet potential new customers. That creates a real source of confusion for homeowners. If door-to-door Sales are here to stay, the relevant question is: “As a homeowner, how do I protect myself against the crooks, predators and shoddy workers who rely exclusively on canvassing Sales to stay in business?” Here is a list of 10 recommended steps to help you separate the wheat from the chaff:

1. Never be pushed into a hard sell

Legitimate companies were here before they came to your door, and they will be in business tomorrow. Take your time in making a decision and make sure you feel comfortable working with your field representative.

2. Do your research with the BBB

There are lots of sites that do reviews of businesses these days (Angie’s list, Yelp, Google +, Houzz, Home Advisor, among others). However, the BBB is the gold standard for evaluating companies, and look at their licensing, contracts, practices and history before assigning a score. In addition, they are also the only group that contacts reviews to confirm that they are legitimate current or former customers.

3. Read customer reviews

While it is true that no service provider can make all customers happy all the time, it is both important and insightful to read about the experience others have with a service provider. If you read a negative review, the company should have posted a response on it. If you don’t find it, ask about it before moving forward.

4. Check the driver’s license, general liability insurance, workman’s comp insurance and auto insurance

Lots of overnight companies will migrate to work in your area for the season. A simple check of driver’s licenses will let you know if both your representative and the company are local. Also ask for current insurance, both for the labor, the company, the vehicles and the workman’s comp. Since it generally pretty expensive for companies to maintain their workman’s comp insurance, this is a great way to gauge which companies are serious about the safety of their workers and their projects.

5. Ask to see copies of professional licenses

Many companies tell you they are “experts,”or “professionals,” or “the best.” Oh yeah? Ask them to see their professional license to perform trade work. This usually involves not only testing, but also background checks. As a result, the lower tier providers either cannot or will not spend the time and money to be licensed.

6. Ask for detailed proposals in writing that explain any and all costs

You can tell a lot about a company by the amount of information they prepare and share with you. If their estimate is 1 or 2 line items, it is time to move on. A proper estimate should include all items, measurements, unit costs and totals, and should address all code and permitting items upfront. Regardless of whether your project is retail or insurance-related, a good contractor is not afraid to do his estimating job upfront and share those details with the customer.

7. Spend time reviewing product information, warranties, and any contracts

Not all installations are equal. If the contractor has not taken the time to discuss and show materials to you, he may be trying to hide something to save on his costs.

8. Make sure a permit is pulled. Every time!

Make sure your project is permitted, so not only do you get an independent assessment of quality and code compliance, but you also have documentation in case you sell or refinance your home. A good contractor not only wants the city or county to inspect his work, but also realizes that open permits may jeopardize his licensing.

9. Never pay deposits!

This is the SINGLE biggest problem that customers face with contractors. There are laws governing when a contractor can take deposits; ie, never before materials are dropped and/or services are performed. More importantly, the need for deposits is a good indicator of the financial well-being of that contractor. If they refuse to start your work without a deposit, they may be using your funds to pay for the job ahead of you. Make sure your payment terms are clearly written out as a part of any contract, and be sure that each payment is preceded by a milestone to be completed by the contractor (materials delivered, work completed, depreciation or funds released from insurance company or mortgage company).

10. Know your rights as a consumer

Understand what your rights and responsibilities are as a homeowner during the process. For the roofing industry, for example, contractor behavior and responsibility to customers is outlined in Colorado SB 38. (Click on this link to learn more: CO SB 38 ).

With your new roof installed, it is tempting to forget about it for a few years. But while Coloradans enjoy the refreshing change of seasons and the mix of sun and snow, it can have an effect on the longevity of your roofing system. The reason? Constant expansion and contraction. While imperceptible to the naked eye, roofing shingles expand (stretching) and contract (shrinking) each and every day, and those effects are exacerbated by the seasonal change from warm to cold. This process forces individual shingles to unseal. Add in the freezing and melting of snow and the formation of ice dams, and Colorado roofs have to endure a lot during the Winter season. As a Colorado homeowner-especially along the Front Range-you must always be cautious in protecting your home from unwanted effects of the freeze and thaw cycle. Cenco Building Services wants our clients to protect the investment they have made in their roofing system. We offer these 4 simple steps to make sure your roof is ready for the next Denver winter:

1. Clean Your Rooftop!

  • During the Fall, lots of roofs collect leaves, pine needles, branches or other debris. Not only does this debris contain acidity that can stick to and break down your shingles prematurely, but it also prevents your roof from draining rain and snow accumulation during the Winter. Any build up on the surface of your shingles allows ice to accumulate, putting unnecessary pressure on the roofing components–unsealing shingles, deteriorating pipe boots and loosening your flashings.
  • If you feel comfortable climbing up and working on your roof, use a broom or blower (do not use a rake!) to clean off any debris. Pay extra attention to the valleys and high water traffic areas, so that water can flow into your gutters. If you are not comfortable getting on your roof and notice debris build up, contact Cenco Building Services to have your roof professionally cleaned.
  • If your roof has algae on it (green or black staining, common in the mountains), we recommend having your roof professionally cleaned using a product called Roof-a-Cide(tm), the only EPA-approved algicide/fungicide specifically designed and approved for use on roofs.
  • When in doubt, call for a free, no-obligation and comprehensive roof inspection by Cenco Building Services so you can check that off your list before the snow flies.

2. Visually Check your roof from the ground.

  • While we don’t recommend casually walking the roof of your home due to the inherent dangers, you can usually look from ground-level with a good pair of binoculars to see if there are any loose or missing shingles, exposed or bent flashings (around chimneys, skylights, vent pipes, headwalls and sidewalls). If you find something, best to call the trained professionals at Cenco Building Services to verify and provide a repair.

3. Have Your Gutters Cleaned!

  • All gutter systems get clogged at some point, either with leaves or just built up dirt and debris. Clogged gutters can lead to damage from ice dams that form at the roof’s edge due to the water not being able to travel down the gutter and away from the roof. Water also melts “over” the gutter and travels down the fascia and soffit behind them, first creating paint cracking or peeling and then structural damage to the wood itself. Most common areas to spot problems with clogged gutters are inside corners or your soffit, under the gutters, and the gutters themselves (if they are steel, they may be rusted on the inside).

4. Check your attic insulation and ventilation.

  • Just like the exterior of your roof interacts with your gutters, the interior of your roofing system interacts with your insulation at the attic cavity. Without proper airflow, breathability and insulation, you could face problems such as unnecessarily high energy bills, moisture build up or premature aging of your roofing system.
  • There are a few things to look out for: Make sure there is no pooling or dripping water around your HVAC unit or along any of the roof trusses or decking wood; make sure all your vents are working and unobstructed; check for signs of animal activity (squirrels and even raccoons have been known to nest in poorly ventilated attic spaces; look for any areas where the insulation is disturbed, unevenly distributed, or wet/discolored.

Prevention is the best cure, so put these items on your Winter seasonal checklist to make sure no problems arise. If they do, you can address them before they create any longstanding damage to your roofing system and the protection it provides over your entire house. Cenco Building Services is here to make sure your roof performs as it was designed to do. If you have any questions, call our friendly professionals now at (720) 583-1690 or email us at info@cencobuildingservices.com for answers

We are commonly asked during inspections: Do I need additional ventilation in my roof? An adequate ventilation system controls two important factors: heat and moisture. Sufficient ventilation will help ensure your roofing product protects your home throughout its intended lifetime. Poor ventilation can lead to cracked and baked shingles, elevated mildew and mold counts in the attic, and attic temperatures soaring to 150 degrees F. If you’re in need of roof ventilation, a roofing contractor can help. There are two types of ventilation available: static and dynamic.

Dynamic vs. Static Roof Ventilation

Dynamic, or power ventilation can be achieved in a number of ways. First, In homes that are not air conditioned, whole house fans can be used to control the temperature. Fans are mounted to the ceiling in a home’s central hallway, so outdoor air can be pulled from the home doors, windows and intakes and exhausted up through the attic. A sufficient number of intakes and exhausts need to be installed for this method to work. Power ventilation can be very effective, but it can also add to the overall energy costs of a home. Second, In air conditioned homes, powered or solar powered vents can be installed. These unit have thermometer gauged fans that draw more air through the existing intakes and out the attic exhaust when a certain temperature is reached. The effect is to reduce the amount of time air spends in the attic and thereby reduce the amount of heat and moisture build up. Powered vents are tied to the property power grid and also use electricity. More current solar models operate quietly and on their own power, reducing any potential operating costs. Static ventilation uses non-powered ventilation products to cool the home. These products work with the natural flow of air and temperature. Here’s how static ventilation works:

  • As air heats up, it rises and becomes less dense.

  • The wind movement around and over a home creates areas of low and high pressure.

  • With a combination of low intake inlets and high air exhaust outlets, cool air enters the intakes, heats as it rises and exhausts out the vents at the highest roof point.

As air heats up, it rises and becomes less dense. The wind movement around and over a home creates areas of low and high pressure. With a combination of low intake inlets and high air exhaust outlets, cool air enters the intakes, heats as it rises and exhausts out the vents at the highest roof point. The most common method of static ventilation is a combination of soffit vents and either box vents or continuous ridge vents. This method achieves the goal of air movement through the attic underneath your roofline. If your attic is sweltering or your roof shingles are starting to crack or blister, there’s a good chance you could benefit from additional ventilation in your roof. Cenco Building Services can help you determine the best option – static or dynamic – for your home based on your energy usage, your problem areas and the construction of your home. For more information call us at (720) 583-1690.

Most property owners are unaware that they are contractually obligated to do certain things in the event of an insurance loss. These responsibilities are listed right there in your policy. Failure to do them can nullify a covered peril claim in part or whole. As a policyholder, you MUST see the following are done in the event of loss of or damage to Covered Property: 1. Notify police if a law may have been broken. 2. Give insurance carrier prompt notice of the loss or damage. a. Include a description of the property involved. 3. As soon as possible, give a description of how, when and where the loss or damage occurred. 4.Take all reasonable steps to protect the Covered Property from further damage. a. If possible, set aside the damaged property and in the best possible order for examination. Also keep a record of your expenses necessary to protect the Covered Property, for consideration in the settlement of the claim. 5. As requested, give the insurance carrier complete inventories of the damaged and undamaged property. a. Include quantities, costs, values, amount of loss claimed and a detailed description of each item. 6. As often as may reasonably be required, permit the insurance carrier to inspect the damaged property and examine your books and records, including financial records and tax returns. a. You must also permit the insurance carrier to take samples of damaged and undamaged property for inspection, testing and analysis, and permit the insurance carrier to make copies from your books and records. 7. Send the insurance carrier a signed, sworn proof of loss containing the information requested to investigate the claim. You must do so within 60 days after the request. 8. Cooperate with the insurance carrier in the investigation or settlement of the claim 9. Resume all or part of your “operations” as quickly as possible.

Don’t put your claim or policy rights at risk. Be sure to follow each of these steps in the process!

In the wake of an insurance loss, the policyholder has certain contractual obligations under the terms of their policy. It is important to know and understand these obligations. These include protecting your property from future losses (completing temporary repairs, as possible, until the damage can be evaluated by your carrier) as well as a timely notification of loss (as quickly as possible, but usually with a 12-month notification window wrapped around the date of loss). The property owner responsibilities, however, do not end once a claim has been filed. They continue throughout the claims process. One of the least understood-and potentially problematic-responsibilities has to do with completion dates. The insurance carrier sets a calendar, or window, around the date of loss, by which time all repairs must have been completed. These timeframes are to ensure that policyholders both have sufficient time to restore their properties, but also to ensure that work is completed so claims are not held open indefinitely. What is at stake is the Depreciation (aka, depreciated hold back) on the claim, Depreciation is the policy term used to describe those funds which are held back in the initial settlement with the policyholder,T based on the age and condition of the items affected, until the repairs have been completed. These funds are kept in an escrow account under the claim number and must be applied for at the culmination of repairs. Depending on multiple inputs, the amount of Depreciation (depreciated hold back) varies from 10%-40% of the combined value of the repairs.It should operate in a very straightforward fashion. The value of the claim is established. The first check is cut. The Depreciation is held back until the work is completed. Upon completion, it is released to the full value of the repairs and the claim is closed. If the work is not completed by the completion deadline, the depreciation (depreciated hold back) is never released.Of course, things are never that simple. The Completion Deadline has historically been 2 years from the date of loss. In my experience, this 2 year windows was the deadline used across carriers and across states, and operated as the industry standard.In recent years, however, different insurance companies have reinterpreted the Completion Deadlines within their administrative policies in a post-loss claim situation. I have seen it change from 2 years, to 18 months, 12 months and even as few as 6 months! Respective insurance companies argue that it is their prerogative to establish the policies and procedures around the claims they process. One might also interpret these changes as a cost-savings measure adopted to reduce expenses within claims, and poorly communicated to their policyholders.Whichever your opinion, one thing is clear: You must know your work completion dates when you file a claim!So what does that mean for you? Whenever you find yourself in a loss situation, and find that you must file a claim, it is IMPORTANT that you now ask what the completion date is for your carrier relative to this particular loss. In doing so, it will help frame your timeline for repairs and avoid the unpleasant situation of missing a deadline and putting your Depreciation (depreciated hold back) funds at risk.
What is at stake is the Depreciation (aka, depreciated hold back) on the claim, Depreciation is the policy term used to describe those funds which are held back in the initial settlement with the policyholder,T based on the age and condition of the items affected, until the repairs have been completed. These funds are kept in an escrow account under the claim number and must be applied for at the culmination of repairs. Depending on multiple inputs, the amount of Depreciation (depreciated hold back) varies from 10%-40% of the combined value of the repairs. It should operate in a very straightforward fashion. The value of the claim is established. The first check is cut. The Depreciation is held back until the work is completed. Upon completion, it is released to the full value of the repairs and the claim is closed. If the work is not completed by the completion deadline, the depreciation (depreciated hold back) is never released. Of course, things are never that simple. The Completion Deadline has historically been 2 years from the date of loss. In my experience, this 2 year windows was the deadline used across carriers and across states, and operated as the industry standard.In recent years, however, different insurance companies have reinterpreted the Completion Deadlines within their administrative policies in a post-loss claim situation. I have seen it change from 2 years, to 18 months, 12 months and even as few as 6 months! Respective insurance companies argue that it is their prerogative to establish the policies and procedures around the claims they process. One might also interpret these changes as a cost-savings measure adopted to reduce expenses within claims, and poorly communicated to their policyholders.Whichever your opinion, one thing is clear: You must know your work completion dates when you file a claim!So what does that mean for you? Whenever you find yourself in a loss situation, and find that you must file a claim, it is IMPORTANT that you now ask what the completion date is for your carrier relative to this particular loss. In doing so, it will help frame your timeline for repairs and avoid the unpleasant situation of missing a deadline and putting your Depreciation (depreciated hold back) funds at risk. Of course, things are never that simple. The Completion Deadline has historically been 2 years from the date of loss. In my experience, this 2 year windows was the deadline used across carriers and across states, and operated as the industry standard. In recent years, however, different insurance companies have reinterpreted the Completion Deadlines within their administrative policies in a post-loss claim situation. I have seen it change from 2 years, to 18 months, 12 months and even as few as 6 months! Respective insurance companies argue that it is their prerogative to establish the policies and procedures around the claims they process. One might also interpret these changes as a cost-savings measure adopted to reduce expenses within claims, and poorly communicated to their policyholders. Whichever your opinion, one thing is clear: You must know your work completion dates when you file a claim! So what does that mean for you? Whenever you find yourself in a loss situation, and find that you must file a claim, it is IMPORTANT that you now ask what the completion date is for your carrier relative to this particular loss. In doing so, it will help frame your timeline for repairs and avoid the unpleasant situation of missing a deadline and putting your Depreciation (depreciated hold back) funds at risk.

Claim filing deadlines is an often asked question, and poorly understood area in homeowner insurance policies. Most insurance policies do not specify a deadline for filing a new claim under your policy. So technically, you can file a claim for a covered peril at any time after the peril occurs. Certainly, your insurance carrier will never deny you the right to file a new claim. Even if there are no written deadlines in the terms of your policy, however, filing deadlines are a real thing in practice. This results from an inherent conflict between your stated policy terms and your contractual obligation to the insurance carrier as a policyholder. You are contractually obligated, as a policyholder, to fulfill two (2) pertinent responsibilities (among a list of 10 responsibilities): 1) Give the insurance carrier prompt notice of the loss or damage2) Take all reasonable steps to protect the Covered Property from further damage If you fail to do so, you can be held liable for a breach of your contract with the insurance carrier under the terms of your policy. So what constitutes “prompt notice?” No one has ever definitively quantified the answer, either with a fixed deadline or a timeframe written down as part of the policy. But there are countless of examples of court cases where insurance carriers have denied or otherwise limited coverage due to the “untimely” filing of claims on behalf of policyholders. What has evolved related to claim filing deadlines, instead, is a body of administrative policies which, while not directly outlined in your policy language, nonetheless govern the way that most carriers approach timelines for filing of new claims after a named covered peril event.The general consensus? 12 months. If you wait longer than a year, you run the risk of all kinds of unnecessary complications in your claims process. Certainly, the burden of proof shifts back to you as the policyholder to justify how anything longer than a year can and should still be consider timely. You also inherit the responsibility of distinguishing what damage is fresh-ie, attributable to the covered peril, and what can be excluded from your claim as “pre-existing” damage.What has evolved related to claim filing deadlines, instead, is a body of administrative policies which, while not directly outlined in your policy language, nonetheless govern the way that most carriers approach timelines for filing of new claims after a named covered peril event.The general consensus? 12 months. If you wait longer than a year, you run the risk of all kinds of unnecessary complications in your claims process. Certainly, the burden of proof shifts back to you as the policyholder to justify how anything longer than a year can and should still be consider timely. You also inherit the responsibility of distinguishing what damage is fresh-ie, attributable to the covered peril, and what can be excluded from your claim as “pre-existing” damage.So do not delay! Have a certified property inspector come and conduct an analysis for you today. The inspection should cover not only your roof, but your your home systems that may have been affected.At Cenco Building Services, we deploy licensed, independent insurance adjusters to conduct all of our field inspections, to better protect your interests should covered peril damage have to be documented.
What has evolved related to claim filing deadlines, instead, is a body of administrative policies which, while not directly outlined in your policy language, nonetheless govern the way that most carriers approach timelines for filing of new claims after a named covered peril event. The general consensus? 12 months. If you wait longer than a year, you run the risk of all kinds of unnecessary complications in your claims process. Certainly, the burden of proof shifts back to you as the policyholder to justify how anything longer than a year can and should still be consider timely. You also inherit the responsibility of distinguishing what damage is fresh-ie, attributable to the covered peril, and what can be excluded from your claim as “pre-existing” damage. What has evolved related to claim filing deadlines, instead, is a body of administrative policies which, while not directly outlined in your policy language, nonetheless govern the way that most carriers approach timelines for filing of new claims after a named covered peril event.The general consensus? 12 months. If you wait longer than a year, you run the risk of all kinds of unnecessary complications in your claims process. Certainly, the burden of proof shifts back to you as the policyholder to justify how anything longer than a year can and should still be consider timely. You also inherit the responsibility of distinguishing what damage is fresh-ie, attributable to the covered peril, and what can be excluded from your claim as “pre-existing” damage.So do not delay! Have a certified property inspector come and conduct an analysis for you today. The inspection should cover not only your roof, but your your home systems that may have been affected.At Cenco Building Services, we deploy licensed, independent insurance adjusters to conduct all of our field inspections, to better protect your interests should covered peril damage have to be documented. What has evolved related to claim filing deadlines, instead, is a body of administrative policies which, while not directly outlined in your policy language, nonetheless govern the way that most carriers approach timelines for filing of new claims after a named covered peril event. The general consensus? 12 months. If you wait longer than a year, you run the risk of all kinds of unnecessary complications in your claims process. Certainly, the burden of proof shifts back to you as the policyholder to justify how anything longer than a year can and should still be consider timely. You also inherit the responsibility of distinguishing what damage is fresh-ie, attributable to the covered peril, and what can be excluded from your claim as “pre-existing” damage. So do not delay! Have a certified property inspector come and conduct an analysis for you today. The inspection should cover not only your roof, but your your home systems that may have been affected. At Cenco Building Services, we deploy licensed, independent insurance adjusters to conduct all of our field inspections, to better protect your interests should covered peril damage have to be documented.

Wintertime in Denver brings sparkling snow, some brisk temperatures and snow! But it also yields lots of sunny, warm days. While Coloradans enjoy the refreshing change of seasons and the mix of sun and snow, it can wreak havoc on your roofing system. The reason? Constant expansion and contraction. While imperceptible to the naked eye, roofing shingles expand (stretching) and contract (shrinking) each and every day, and those effects are exacerbated by the seasonal change from warm to cold. This process forces individual shingles to unseal. Add in the freezing and melting of snow and the formation of ice dams, and Colorado roofs have to endure a lot during the Winter season. As a Colorado homeowner-especially along the Front Range-you must always be cautious in protecting your home from unwanted effects of the freeze and thaw cycle. At Cenco Building Services, we want our clients to protect the investment they have made in their homes. We offer these 4 simple steps to make sure your roof is ready for the next Denver winter: Know the condition of your roof before Winter arrives! Most homeowners do not have the expertise required to assess the condition of a roof, so it is advisable to have an expert inspect your roof to identify any red flags before Winter. Common points of failure are missing and unsealed shingles, deteriorated pipe boots and loose flashing. Call for a free, no-obligation and comprehensive roof inspection by Cenco Building Services so you can check that off your list. Visually check your roof from the ground every 6 months. While we never recommend walking the roof of your home due to the inherent dangers, you can look to see if there are any missing shingles or exposed flashing from a ground-level vantage point. If you find something, best to call a trained professional to verify and provide a repair. Look for signs of damage to the exterior paint. Cracking and peeling paint may indicate two things: 1) destructive ice dams are forming along your roof and damaging the roof/gutter drainage interaction, or 2) there have been leaks from damaged flashing or missing shingles. Most common areas to spot problems are inside corners or your soffit, under the gutters, especially if they are wood. Have your gutters professionally cleaned. Clogged gutters can lead to damage from ice dams that form at the roof’s edge due to the water not being able to travel down the gutter and away from the roof. Water also melts “over” the gutter and travels down the fascia and soffit behind them, creating structural damage. Contact Cenco Building Services Today With Winter approaching, the time has come-if you reside in Metro Denver or the surrounding areas-to have your roof inspected by Denver roofing company, Cenco Building Services. Melting snow, Ice Damming, and temperature changes can damage shingles and affect your causing your roof’s underlayment and longevity. Protect the investment you’ve made in your home by scheduling a no-obligation roof inspection with the team of Cenco Building Services. We are here to make sure your roof is ready for the winter in Denver, so call our friendly professionals now at (720) 583-1690!